Quick Start
PxServ is an IoT platform that provides API and library support for connecting software and hardware projects to the cloud. It is compatible with Arduino, JavaScript/TypeScript, Rust, ESP32, ESP8266, Raspberry Pi, and any internet-capable device.
Steps
1. Create a Project
Sign in to the PxServ platform and create a new project. You will receive a project API key used to authenticate all requests.
2. Choose Your Integration
PxServ supports the following integrations:
- Arduino Library
- JavaScript / TypeScript Library
- Rust Library
- REST API
- Real-Time Connection (Socket.IO)
- OTA Feature
3. Send Data to PxServ
The following example uses the Arduino Library with an ESP32 and a DHT11 sensor to send temperature and humidity data to PxServ:
#include <PxServ.h>
#include "DHT.h"

#define DHT_PIN 4
#define DHT_TYPE DHT11

PxServ client("your_pxserv_api_key");
DHT dht(DHT_PIN, DHT_TYPE);

void setup() {
  Serial.begin(115200);
  PxServ::connectWifi("your_wifi_ssid", "your_wifi_password");
  dht.begin();
}

void loop() {
  float temperature = dht.readTemperature();
  float humidity = dht.readHumidity();

  if (isnan(temperature) || isnan(humidity)) {
    Serial.println("Failed to read from DHT11 sensor.");
    return;
  }

  client.setData("temperature", String(temperature));
  client.setData("humidity", String(humidity));
}
4. Manage Your Data
Once data is flowing, you can:
- Analyze data with AI-powered insights from the management panel
- View historical data on the statistics page
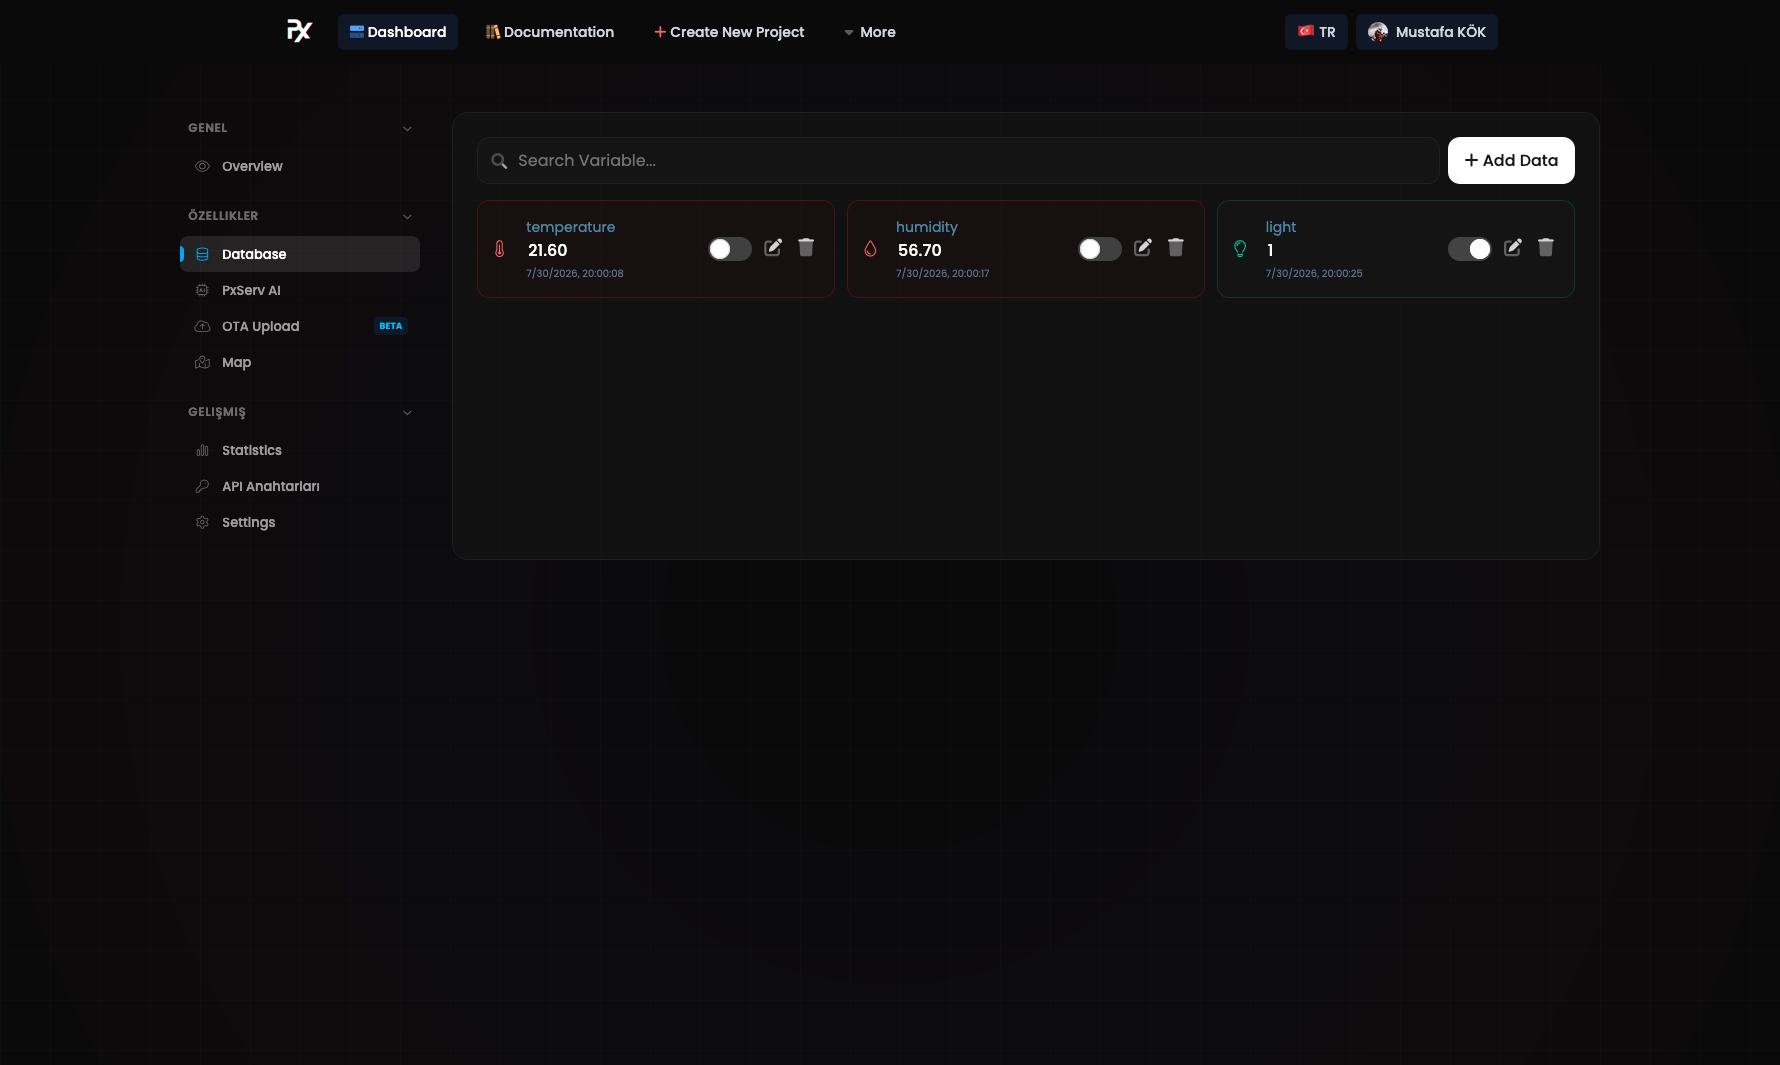
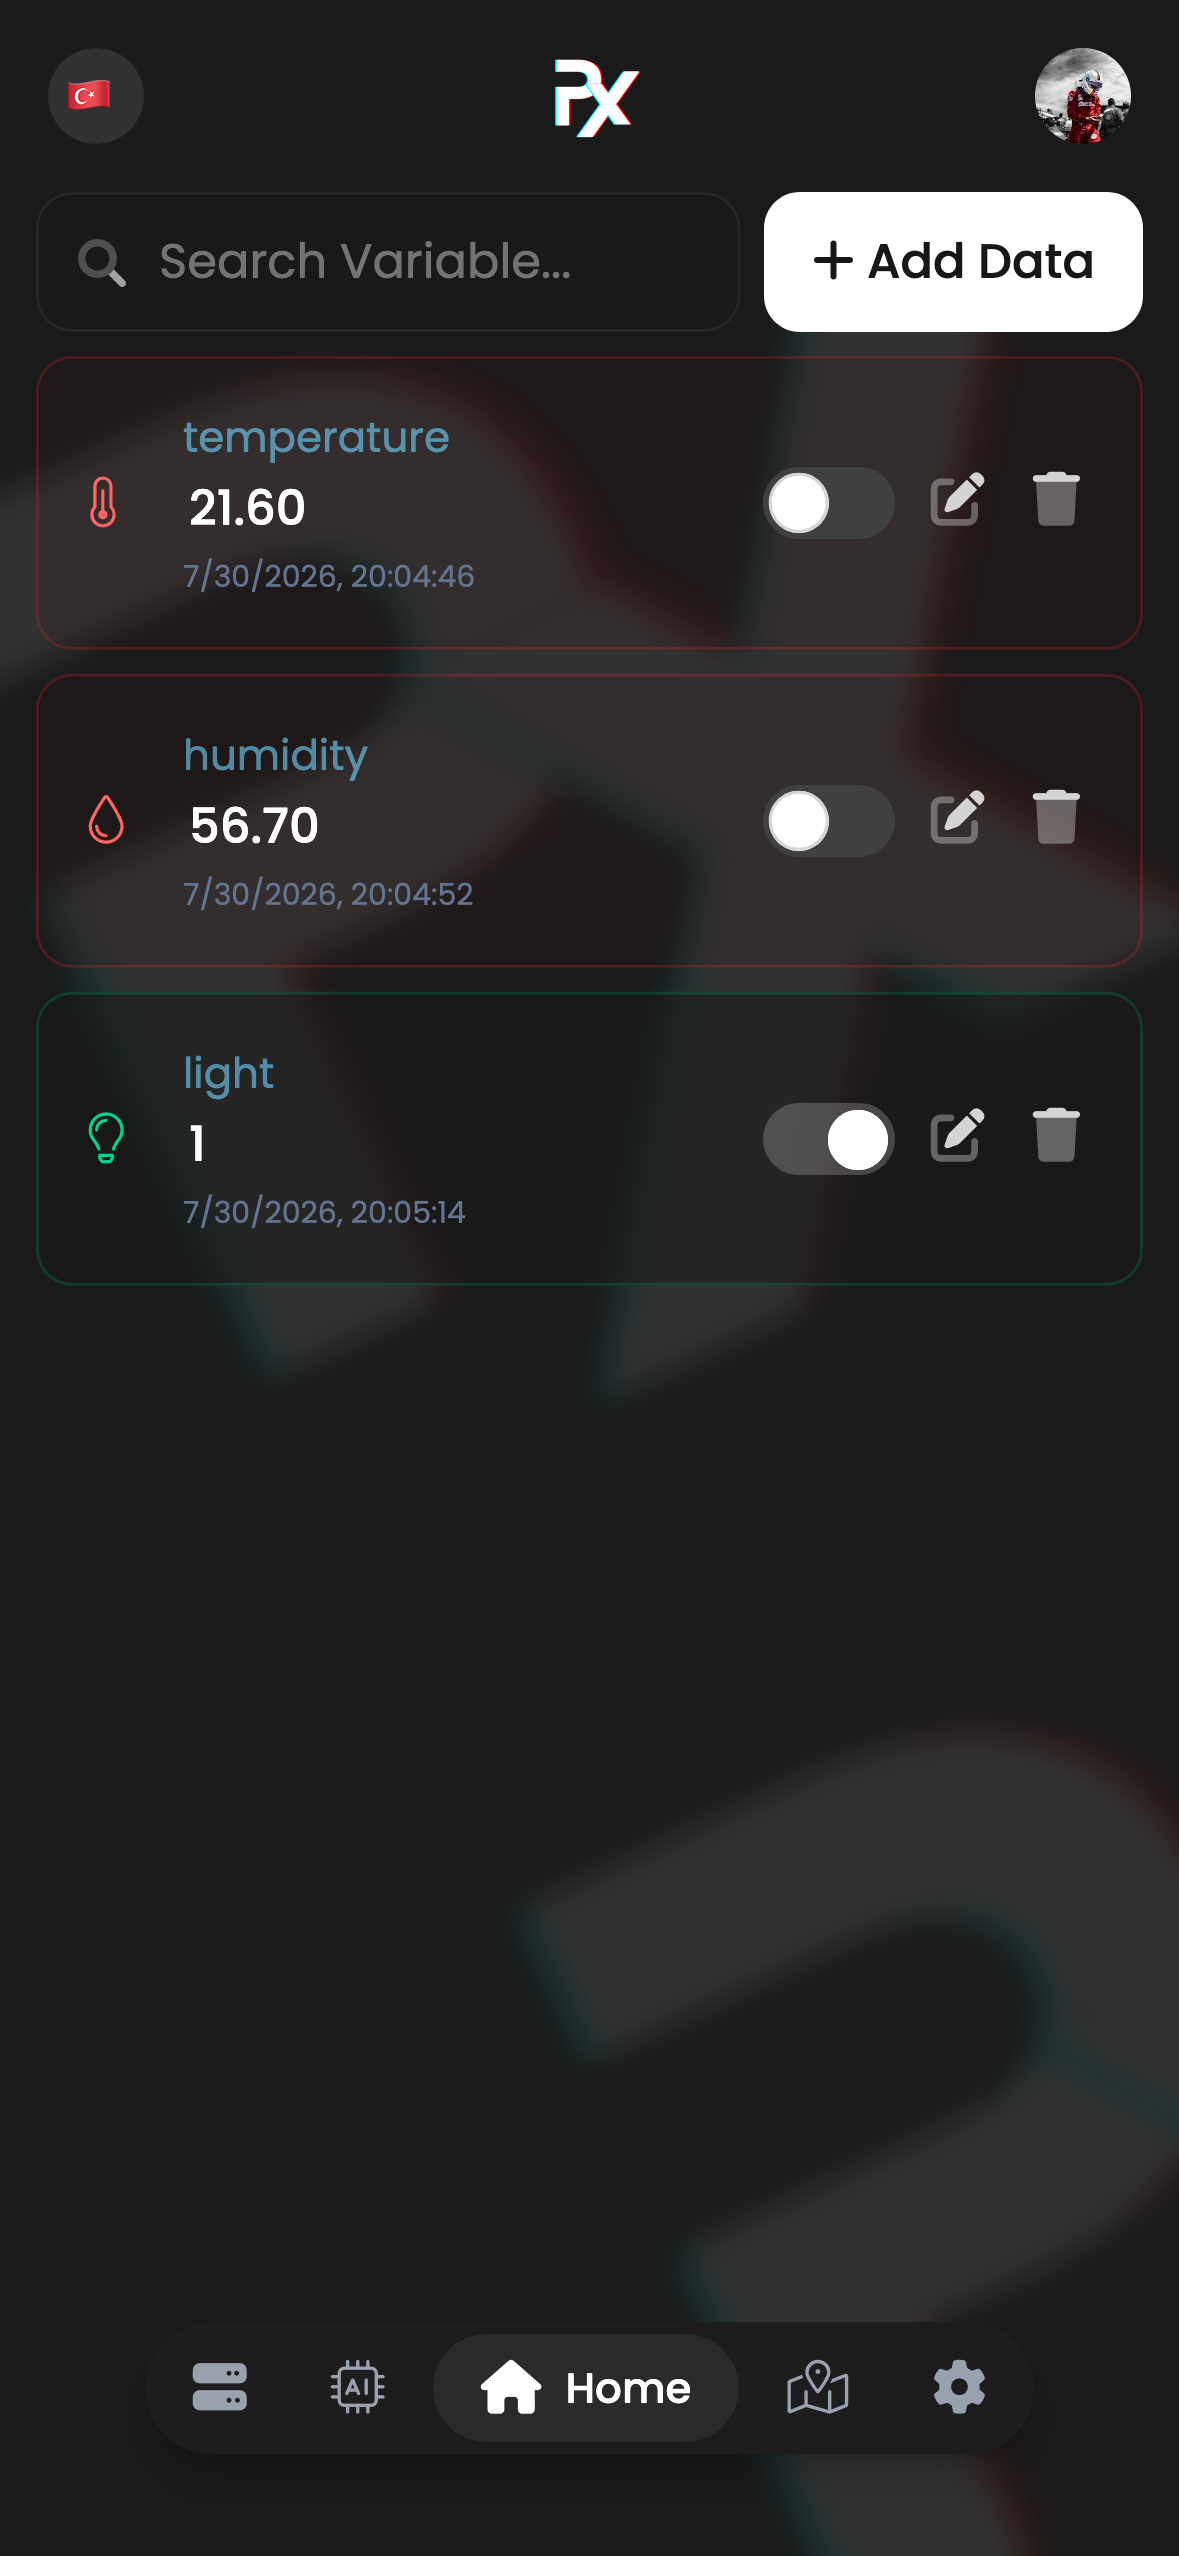
- Browse and manage stored records from the database page
5. Access Data Anywhere
Retrieve and manage your data through:
- PxServ Management Panel
- PxServ Mobile App
- Custom dashboards or applications built with the PxServ API
Last updated